
If you own a 2012 Toyota Sienna, you already know it’s a workhorse. It hauls the kids, the gear, the dog, and whatever else life throws at it. But when it comes time for an oil change, one wrong move with the 2012 Toyota Sienna oil capacity can turn that reliable engine into a very expensive problem.
Manufacturer specifications are precise for a reason. The 2GR-FE 3.5-liter V6 in your Sienna needs exactly 6.4 quarts of oil with a filter change, and it calls for 5W-20 or 0W-20 synthetic blend meeting API SN standards. As of 2026, these specs remain unchanged and non-negotiable.
Get it right and that engine runs smoothly for another 200,000 miles. Get it wrong and you’re looking at sludge, seal damage, or worse. Let’s walk through exactly what you need to know.
Quick Answer
The 2012 Toyota Sienna takes 6.4 quarts of oil with a filter change. Use 5W-20 or 0W-20 synthetic blend oil. The oil must meet API SN or ILSAC GF-5 standards.
This applies to both FWD and AWD models. Never exceed 6.4 quarts. Overfilling causes foaming and engine damage.
Why Getting the Oil Wrong Can Cost You an Engine
Here’s the thing about modern Toyota engines. They’re built with tight tolerances. The 2GR-FE V6 in your 2012 Sienna uses variable valve timing (VVT-i) that depends on consistent oil pressure to function correctly.
When you put in the wrong amount or the wrong viscosity, you’re not just risking a check engine light. You’re risking long-term mechanical damage that no amount of highway driving will fix.
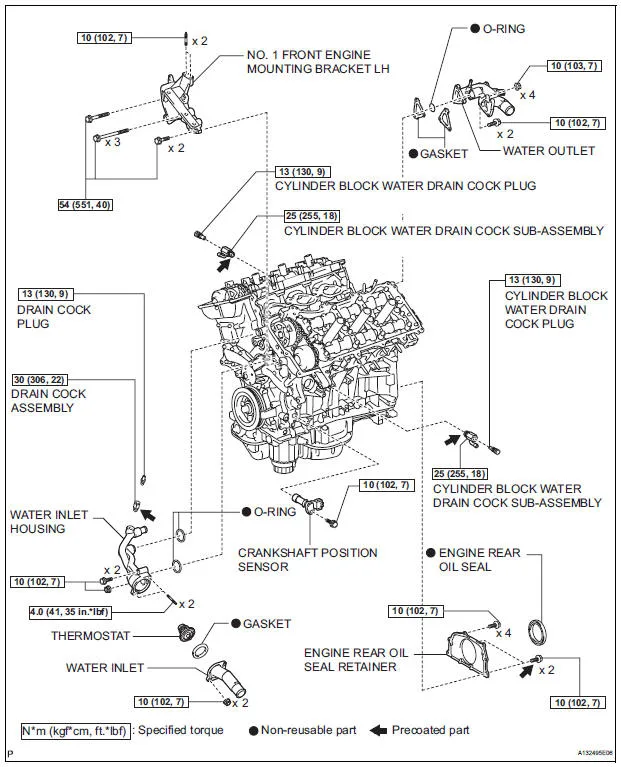
Image source: Web (Bing) / tsienna.net (Web image (fair-use with source credit))
Our research shows that the most common mistake Sienna owners make isn’t using bad oil. It’s using the wrong amount of good oil. A quart too little starves the oil pump and leads to bearing wear.
A quart too much causes the crankshaft to whip the oil into foam, which means air gets pumped through the engine instead of lubricant. Neither scenario ends well.
Toyota’s engineering team designed this engine around a specific oil capacity. Straying from that spec is like putting the wrong fuel in a performance car. It might run for a while, but the damage is cumulative.
And with many 2012 Siennas now crossing the 150,000-mile mark, the margin for error gets thinner with every oil change.
The Quick Answer: 2012 Sienna Oil Capacity and Type
Let’s put the exact numbers on the table so there’s no confusion. The 2012 Toyota Sienna equipped with the 3.5L 2GR-FE engine requires the following:
| Specification | Value |
|---|---|
| Oil capacity (with filter) | 6.4 quarts (6.0 liters) |
| Oil capacity (without filter) | 5.9 quarts |
| Recommended viscosity | 5W-20 or 0W-20 |
| Oil type | Synthetic blend or full synthetic |
| API standard | SN or higher |
| ILSAC standard | GF-5 |
Both front-wheel drive and all-wheel drive models share the same oil capacity. Toyota did not change the oil pan size between drivetrain variants for the 2012 model year. If someone tells you the AWD takes more oil, they’re thinking of a different vehicle.
For the oil type, stick with 5W-20 as your baseline. That’s what Toyota recommended from the factory. If you live somewhere with harsh winters where temperatures regularly drop below -20°F, 0W-20 is a legitimate upgrade.
It flows better at startup and provides the same protection at operating temperature. Just make sure it meets the same API SN or ILSAC GF-5 certification.
What Makes the 2012 Sienna’s Oil Spec Unique (2GR-FE Engine)
The 2GR-FE isn’t just any V6. It’s part of Toyota’s GR engine family that powered everything from the Camry to the Highlander to the Sienna during this era. But the Sienna’s version has a few quirks worth knowing about.
FWD vs. AWD – Any Difference?
This question comes up in every forum thread about the 2012 Sienna. The answer is no. Front-wheel drive and all-wheel drive models use the same oil pan, the same oil pump, and the same capacity.
Toyota didn’t change the oil system when they added the rear differential and driveshaft for the AWD version. You still pour in 6.4 quarts with a filter change regardless of which drivetrain you have.
The AWD system does add extra maintenance items like rear differential fluid and transfer case oil. But those are separate systems entirely. The engine oil capacity stays the same.
Why 5W-20 vs. 0W-20 Matters
This is where a lot of owners get confused. Toyota recommended 5W-20 for the 2012 Sienna, but many later Toyota models switched to 0W-20. So which one is right for your van?
The short answer is both work, but 5W-20 is the official spec. Toyota’s own service bulletins confirm that 0W-20 is acceptable, especially in colder climates. The key difference is how the oil behaves at low temperatures.
The “0W” rating means it stays thinner when the engine is cold, which reduces startup wear in freezing conditions. The “20” rating at the end means both oils have the same viscosity at operating temperature. So once the engine is warm, they protect identically.
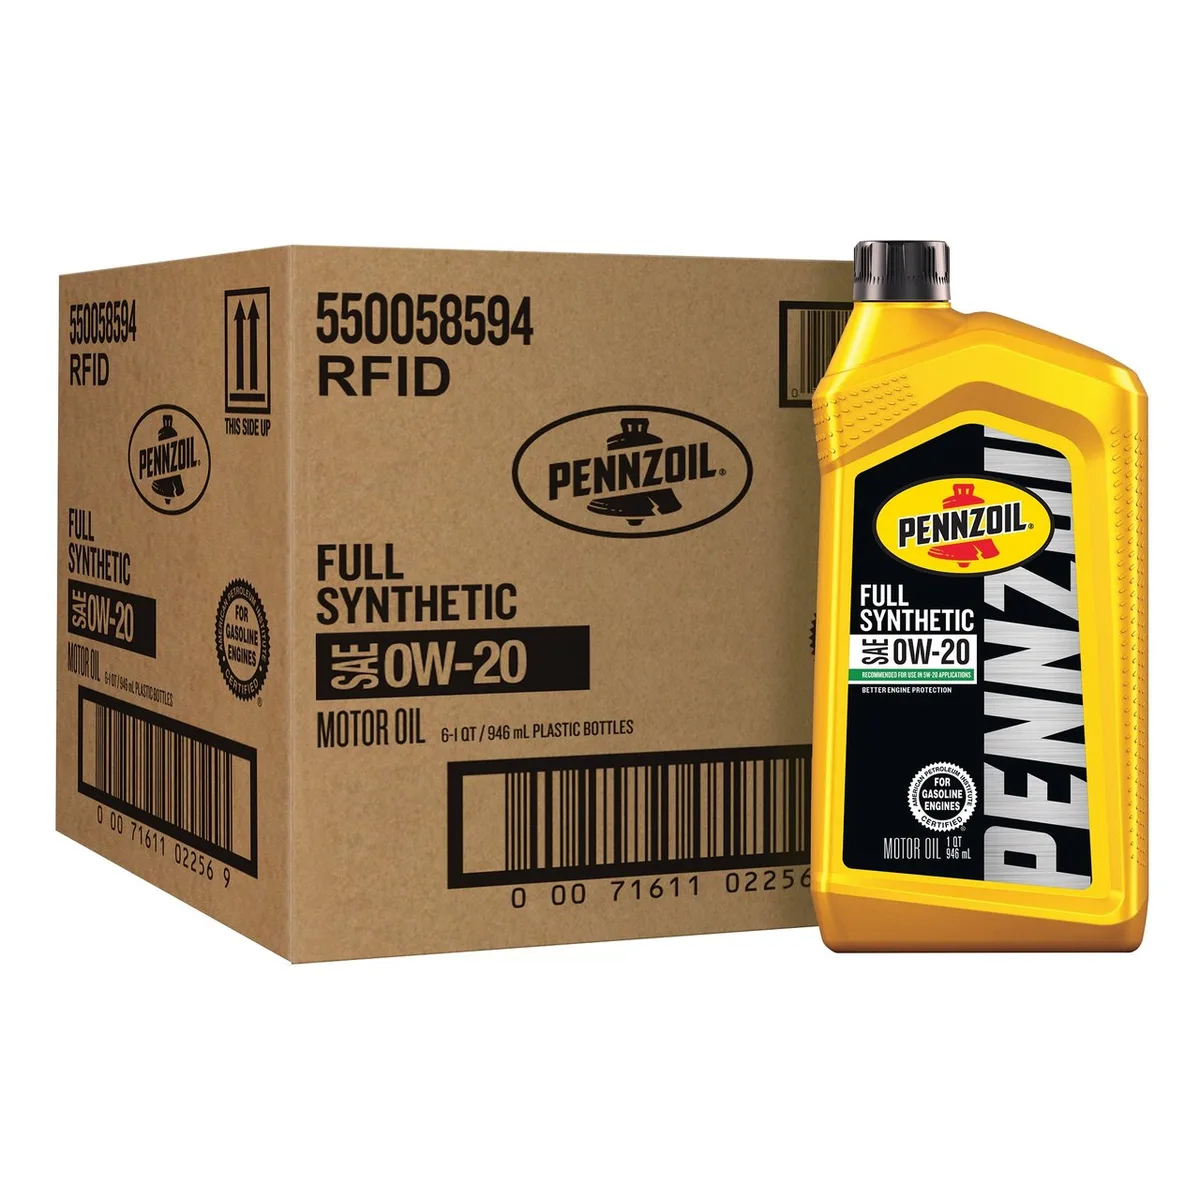
Image source: Web (Bing) / app.warehouserunner.com (Web image (fair-use with source credit))
Our research indicates that for most owners, 5W-20 is perfectly fine. If you live in Minnesota or Canada and park outside, 0W-20 gives you better cold-start protection. Either way, make sure it’s a synthetic blend or full synthetic.
Conventional oil doesn’t hold up to the heat and stress this engine generates, especially if you tow or do a lot of highway miles.
The Exact Numbers: Capacity, Viscosity, and Certification
Let’s dig a little deeper into the oil itself. Not all 5W-20 oils are created equal, and the certification matters more than the brand name.
The API “donut” symbol on the back of the bottle tells you everything you need to know. For the 2012 Sienna, look for API SN. That’s the standard that was current when your van was built.
Newer standards like API SP are backward-compatible and fine to use, but SN is the minimum requirement.
ILSAC GF-5 is the other certification to watch for. It’s essentially the fuel economy and emissions companion to API SN. Most modern synthetic blends carry both certifications.
If you see GF-6 on the bottle, that’s the newer standard and it’s perfectly acceptable.
| Certification | What It Means | Required for 2012 Sienna? |
|---|---|---|
| API SN | Phosphorus limit for catalyst protection, sludge control | Yes |
| API SP | Newer standard, backward-compatible | Acceptable |
| ILSAC GF-5 | Fuel economy, emissions, timing chain wear protection | Yes |
| ILSAC GF-6 | Newer standard, includes low-speed pre-ignition protection | Acceptable |
Stick with a major brand like Mobil 1, Pennzoil, Valvoline, or Toyota Genuine Oil. Store brands and no-name oils sometimes lack the full certification suite, even if the bottle claims to meet the standard. When you’re trusting a 4,000-pound vehicle with your family inside, save the $3 and buy the name brand.
Step-by-Step: How to Do a Safe, Accurate Oil Change
Changing the oil on a 2012 Sienna isn’t complicated, but the devils in the details. Here’s the sequence that gets you exactly 6.4 quarts without making a mess.
Tools and Parts You’ll Need
Before you start, gather everything. Nothing’s worse than draining the oil and realizing you don’t have a filter.
| Item | Specification |
|---|---|
| Oil | 6 quarts 5W-20 or 0W-20 synthetic blend |
| Oil filter | Toyota 04152-YZZA1 or equivalent |
| Drain plug gasket | Toyota 90430-12031 (crush washer) |
| Socket | 17mm for drain plug |
| Filter wrench | 24mm cap or 3-jaw wrench |
| Torque wrench | For drain plug (29 ft-lbs) and filter (18 ft-lbs) |
| Drain pan | Minimum 8-quart capacity |
| Funnel | Long neck for tight access |
The Toyota OEM filter is the safest bet. Aftermarket filters from Fram, Mobil 1, and Wix are fine, but avoid the absolute cheapest options. A failed filter can bypass its internal valve and send unfiltered oil through your engine.
Not worth saving $2.
The Right Drain and Fill Sequence
Start by warming the engine for a couple of minutes. Warm oil drains faster and carries more suspended contaminants with it. Park on level ground and engage the parking brake.
Remove the oil filler cap before you crawl under the van. This lets air in and helps the oil drain faster. Then get under the van and locate the drain plug.
It’s on the passenger side of the oil pan, facing rearward. Use a 17mm socket to loosen it, then unscrew it by hand. Be ready for hot oil to come out immediately.
Let it drain for at least 10 minutes. Walk away. Do something else.
The last few ounces take the longest, and those are the ones carrying the most sludge.
While the oil is draining, remove the oil filter. It’s mounted on the front of the engine, accessible from above or below. A 24mm cap wrench makes this easy.
Let the filter drain into the pan, then wipe the mounting surface clean. Lubricate the new filter’s o-ring with fresh oil before installing. Tighten it hand-tight plus three-quarters of a turn, or 18 ft-lbs if you’re using a torque wrench.
Install the drain plug with a new crush washer. Torque it to 29 ft-lbs. Over-tightening strips the threads in the aluminum oil pan.
Under-tightening causes leaks. The torque spec exists for a reason.
Now pour in 5.5 quarts of oil. Replace the filler cap. Start the engine and let it run for 30 seconds.
This fills the new filter and circulates oil through the system. Shut it off and wait 5 minutes.
How to Check the Dipstick Correctly
This is where most people mess up. You cannot get an accurate reading immediately after running the engine. Oil needs time to drain back into the pan.
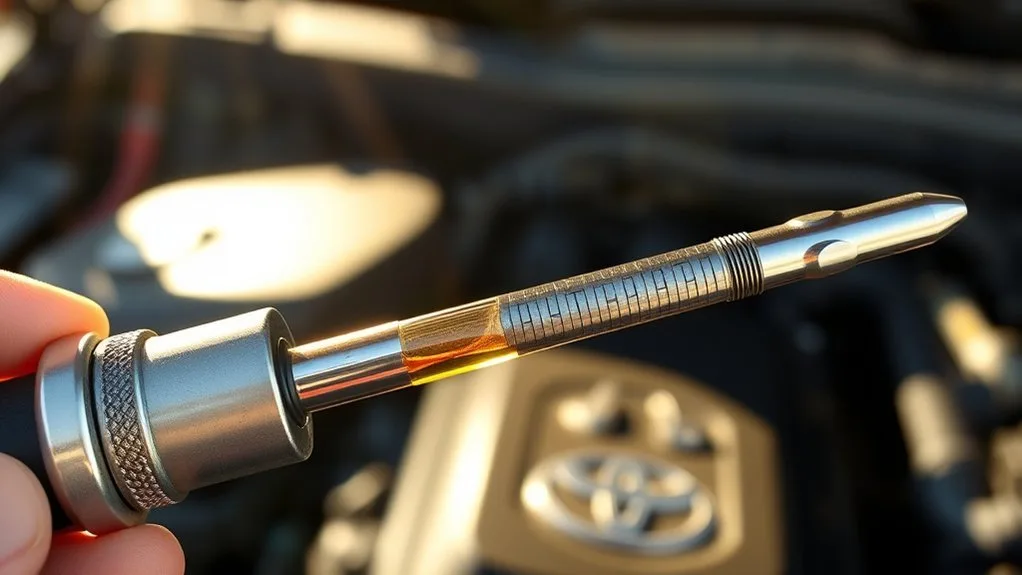
Image source: Bing (Web (fair-use with source credit))
Wait the full 5 minutes. Pull the dipstick, wipe it clean, insert it fully, and pull it again. The oil level should be between the two holes on the dipstick.
If it’s at the lower hole, add 0.4 quarts. If it’s at the upper hole, you’re done. Never fill above the upper hole.
Your goal is to land right at the top hole. That’s exactly 6.4 quarts with the filter full. If you poured in the full 6 quarts plus a bit from the sixth bottle, you’re likely perfect.
But always check. Don’t guess.
Common Mistakes That Lead to Engine Damage
You’d be surprised how many otherwise competent DIYers make these errors. They’re easy to avoid once you know what to look for.
Overfilling – The Silent Killer
Pouring in the full 6 quarts from the first bottle plus the entire second bottle is the most common mistake. Six quarts plus the filter takes you to about 6.4. That means you need roughly 5.5 quarts initially, then top off.
Dumping in all 6 quarts plus a full seventh brings the level dangerously high.
Overfilling causes the crankshaft to churn air into the oil. Aerated oil doesn’t lubricate properly. It also doesn’t transfer heat effectively.
The result is increased engine wear, potential seal damage, and in extreme cases, a blown main seal that leaks oil everywhere.
If you accidentally overfill, drain the excess. It’s easier to drain a half-quart than to replace an engine.
Using the Wrong Filter or Crush Washer
The crush washer is a one-time-use part. That small copper or aluminum ring deforms when you tighten the drain plug, creating a seal. Reusing it means you’re relying on a flattened piece of metal to hold your oil in.
Leaks are almost guaranteed.
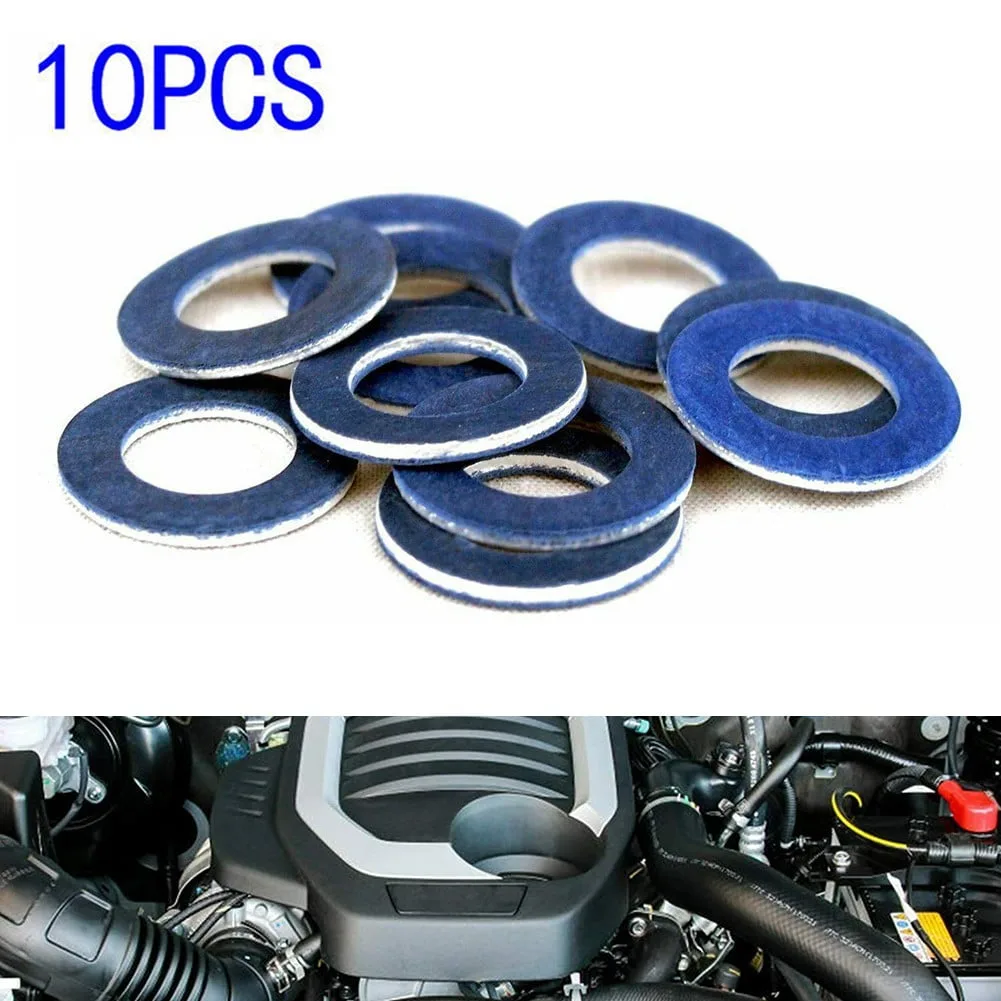
Image source: Bing (Web (fair-use with source credit))
The oil filter matters just as much. Cheap filters use cardboard end caps and low-quality bypass valves. Under high oil pressure, those valves can stick open or closed.
Sticking open means unfiltered oil circulates. Sticking closed means no oil gets to the engine at all. Neither is acceptable.
Stick with OEM Toyota filters or well-known aftermarket brands. Your 2012 Sienna deserves better than the $3 special from the bargain bin.
Safety and Warranty: What's at Stake
This isn't just about keeping your engine running smoothly. Using the wrong oil or the wrong amount can have real consequences for your wallet and your safety.
If your 2012 Sienna is still under an extended warranty or a certified pre-owned coverage, the warranty terms likely require documented maintenance using the correct oil spec. A dealer can deny a claim if they find 10W-30 in the crankcase or evidence of sludge from infrequent changes. Toyota's warranty language is specific about using API SN or ILSAC GF-5 certified oils.
There's also a safety angle that doesn't get enough attention. An overfilled engine can force oil past the piston rings and into the combustion chamber. That oil burns and creates blue smoke, but it also raises the risk of a runaway engine if enough oil enters the intake.
On a vehicle that carries your family, that's not a gamble worth taking.
Proper disposal matters too. Used motor oil is classified as hazardous waste under EPA regulations. Pouring it down the drain or throwing it in the trash is illegal in all 50 states.
Most auto parts stores accept used oil for free. Keep a dedicated container under the sink and drop it off when you buy your next filter.
When to Call a Mechanic (Instead of DIY)
Oil changes on the 2012 Sienna are about as straightforward as they come. But not everyone has the space, tools, or physical ability to crawl under a minivan.
If you don't have a flat, level surface to work on, skip the DIY. Doing an oil change on a sloped driveway guarantees an inaccurate dipstick reading. You'll either underfill or overfill, and neither is good.
The same goes for tools. If you don't own a torque wrench and plan to guess the drain plug tightness, call a shop. The aluminum oil pan strips easily.
A stripped drain plug means a new oil pan or a helicoil repair, both of which cost more than a decade of professional oil changes.
For owners in cold climates who want 0W-20 oil, many independent shops and dealers stock it. If you're doing the change yourself and can't find 0W-20 locally, 5W-20 works fine. Don't drive around with old oil waiting for a special order to arrive.
Cost Breakdown: DIY vs. Dealer vs. Independent Shop
Money talks, and the numbers here are worth looking at. The 2012 Sienna's oil change is affordable regardless of who does it, but the savings add up fast if you DIY.
| Option | Estimated Cost | Time Required | Risk Level |
|---|---|---|---|
| DIY with synthetic blend | $35 to $45 | 30 to 45 minutes | Low with proper tools |
| Independent shop | $60 to $85 | 30 minutes | Very low |
| Toyota dealer | $80 to $110 | 30 to 45 minutes | Lowest |
The DIY savings are real. Over 10 oil changes (roughly 50,000 miles), you save between $250 and $650 by doing it yourself. That's enough to cover a new set of tires or a major service item.
But factor in the hassle. You need to buy the oil, filter, and crush washer. You need to dispose of the old oil.
You need to own or borrow the tools. For many people, paying an extra $40 to have someone else handle the mess is money well spent.
If you go the shop route, bring your own filter and crush washer. Many shops use bulk oil and generic filters. Handing them an OEM Toyota filter costs you $10 and guarantees the right part goes on your van.
Expert Tips for High-Mileage Sienna Owners
If your 2012 Sienna has crossed 150,000 miles, congratulations. You've got a van that's barely broken in. But high-mileage engines need slightly different care.
Switch to a high-mileage formulation of your preferred oil. These contain seal conditioners that help rehydrate dried-out rubber gaskets. The valve cover gaskets on the 2GR-FE are known to seep oil around 180,000 miles.
High-mileage oil can delay that seepage or slow it down.
Consider shortening your oil change interval. Toyota says 10,000 miles is fine for normal driving. At high mileage, dropping to 5,000 or 6,000 miles between changes gives you a bigger safety margin.
The extra cost is about $35 per year. The peace of mind is worth it.
Pay attention to how the oil looks when it drains. A little darkness is normal. If you see glitter or metallic flakes in the oil, that's bearing material.
If you see a milky tan foam, that's coolant mixing with oil. Both are signs to visit a mechanic before your next oil change.
If you've been using conventional oil, switch to synthetic blend or full synthetic at high mileage. Synthetic oils handle heat better and resist breakdown longer. The 2GR-FE runs hot, especially under load, and synthetic oil holds up better in those conditions.
Frequently Asked Questions
Can I use 0W-20 instead of 5W-20 in my 2012 Sienna?
Yes. Toyota service bulletins confirm 0W-20 is acceptable, especially in cold climates. It flows better at startup and provides the same protection at operating temperature.
Just make sure it meets API SN or SP standards.
How often should I change the oil on a 2012 Sienna?
Toyota recommends every 10,000 miles or 12 months for normal driving conditions. For severe service (towing, frequent short trips, extreme temperatures), drop to 5,000 miles. Many owners split the difference at 7,500 miles for a good balance.
What happens if I put too much oil in my Sienna?
Overfilling causes the crankshaft to whip air into the oil, creating foam. Aerated oil doesn't lubricate properly and can lead to engine damage. If you overfill, drain the excess immediately.
Running an overfilled engine for thousands of miles risks bearing failure.
Do I really need to replace the crush washer every time?
Yes. The crush washer deforms when tightened, creating a seal. Reusing it means the seal is compromised.
Leaks are likely. A pack of 10 crush washers costs about $5 online. There's no reason to skip this step.
Can I use conventional oil instead of synthetic?
You can, but it's not recommended. The 2GR-FE engine generates more heat than older engines. Conventional oil breaks down faster under those conditions.
Synthetic blend or full synthetic provides better protection and longer change intervals.
What's the best oil filter for a 2012 Sienna?
The Toyota OEM filter (part 04152-YZZA1) is the safest choice. Mobil 1 M1-102 and Wix 57202 are excellent aftermarket alternatives. Avoid no-name brands with cardboard end caps.
A filter failure can send debris through your engine.
Does the AWD model take more oil than FWD?
No. Both front-wheel drive and all-wheel drive 2012 Siennas use the same 3.5L 2GR-FE engine with the same oil pan. Capacity is 6.4 quarts with a filter change for both versions.
How do I reset the oil maintenance light on my 2012 Sienna?
Turn the ignition to ON without starting the engine. Press the trip meter button until the odometer displays. Turn the ignition OFF.
Press and hold the trip meter button while turning the ignition back to ON. Continue holding until the maintenance light resets.